Step 1
Define the shot in one sentence
Start with subject, camera movement, setting, lighting, and style so the model has a clear visual brief.
Login to generate and view your high-quality AI videos.
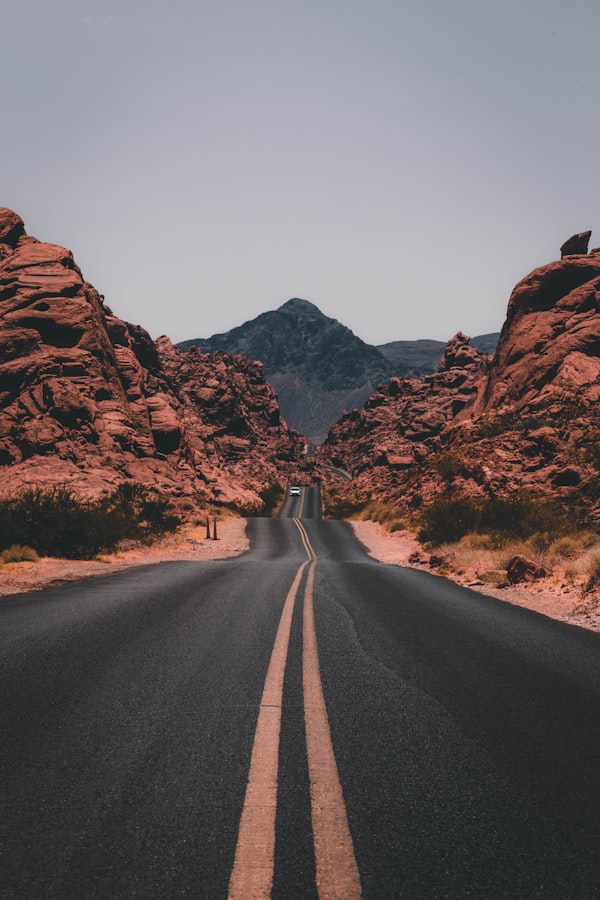
Golden Hour Drive
A car cruising a coastal highway at sunset, warm haze, cinematic lens flare
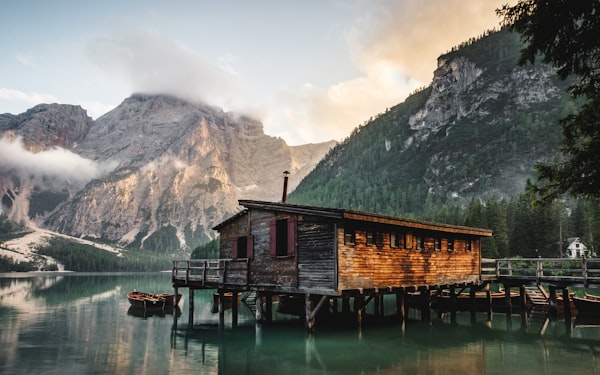
Night Market Glow
A bustling night market, neon signs reflecting on wet pavement, slow handheld camera
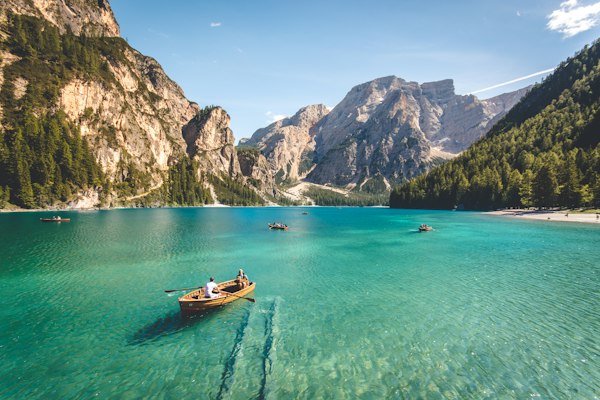
Mountain Drone
Drone flythrough of alpine peaks, crisp air, dramatic clouds, epic soundtrack
Step 1
Start with subject, camera movement, setting, lighting, and style so the model has a clear visual brief.
Step 2
Pick duration, aspect ratio, and quality first to avoid comparing outputs that were generated under different settings.
Step 3
Adjust only one variable per run, such as camera motion or lighting, to identify what actually improved the clip.
Step 4
Document the best prompt pattern and settings so teammates can reproduce results without restarting from scratch.
A strong prompt includes subject, motion, scene, lighting, and style in a short, unambiguous structure. Avoid stacking too many conflicting ideas in one run.
Use 4 seconds for hook testing, 6 seconds for balanced pacing, and 8 seconds when the motion needs a clearer setup and finish.
Reuse the same prompt skeleton and keep settings fixed while changing only one detail. Consistency comes from controlled iteration, not random rewrites.
It is great for early ideation and variant testing. For stricter visual control, move to image-to-video or frames-to-video with reference inputs.